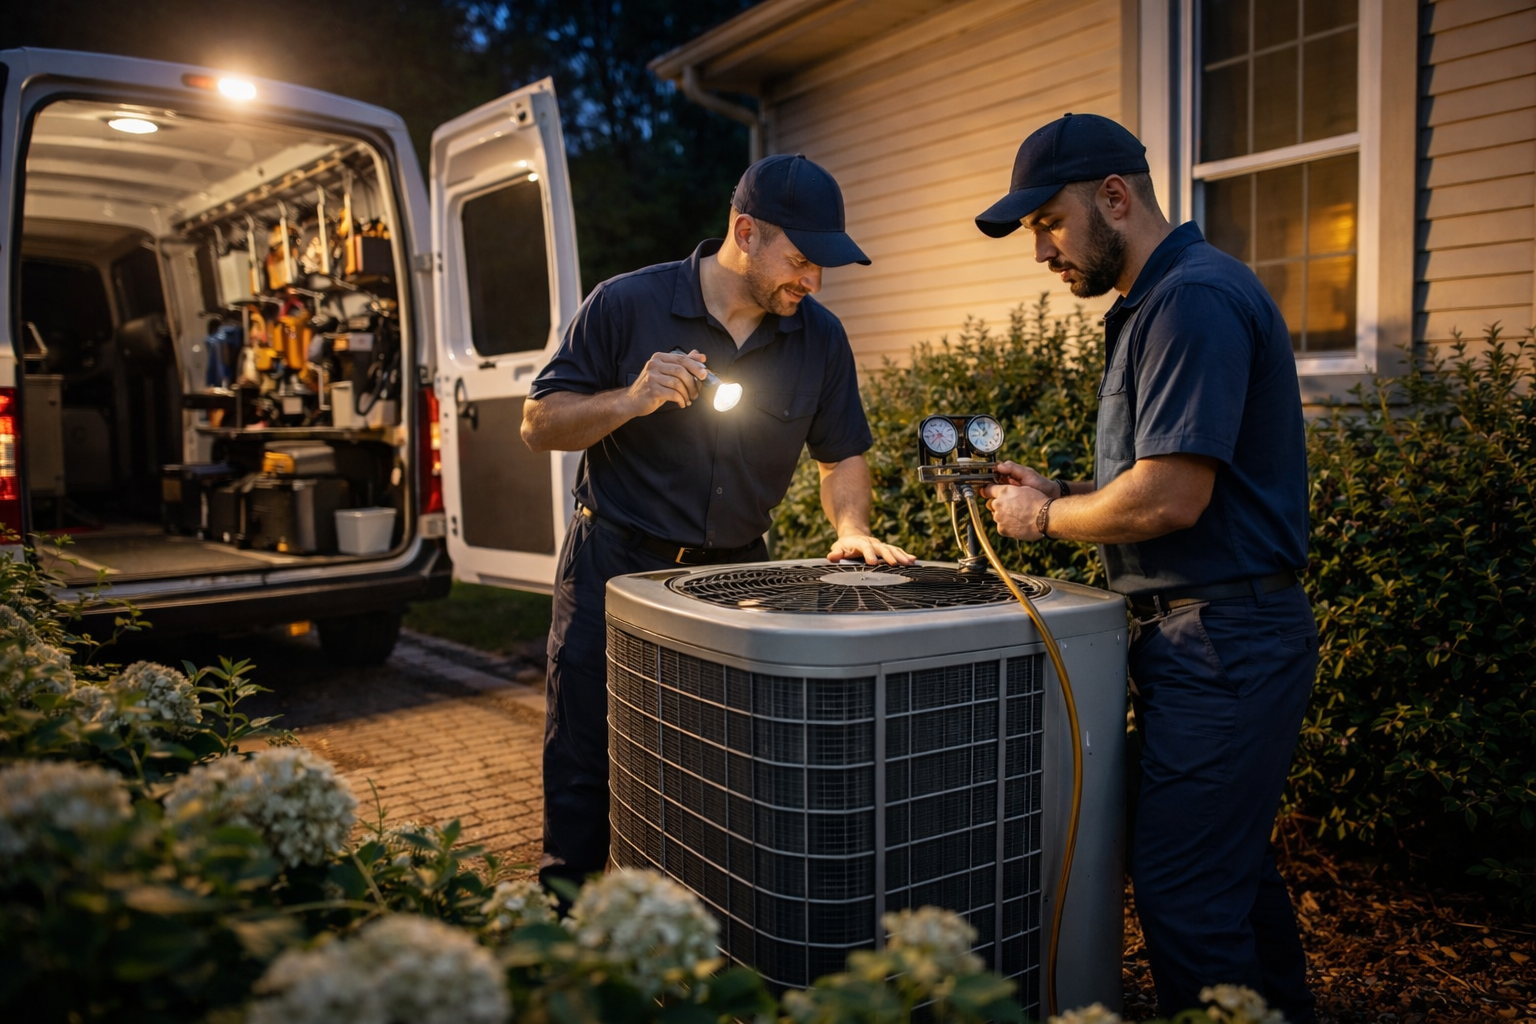
Top Signs You Need HVAC Repair in Staunton, VA Before Winter Hits
This winter in Staunton, VA, you need to spot early HVAC warning signs to avoid a breakdown: strange noises, uneven heating, rising bills, weak airflow, persistent odors, short cycling, or thermostat/ignition issues. Inspect and change filters, check thermostat settings and batteries, clear vents, and look for leaks or ice on the outdoor unit; document symptoms and take photos so you can give clear information when you call for professional service.
Understanding Your HVAC System
Your HVAC combines a furnace or heat pump, air handler, ductwork, thermostat, and an outdoor condensing unit; furnaces often last 15–20 years while heat pumps average 10–15. You can spot issues by checking airflow at registers, measuring a 15–20°F supply-return temperature difference, and inspecting visible duct seams for leaks. Energy ratings like AFUE (heating) and SEER (cooling) tell you efficiency—older units below AFUE 80 or SEER 13 usually cost you more and warrant closer attention before winter.
How HVAC Systems Work
Refrigeration in air conditioners and heat pumps runs refrigerant through compressor, condenser and evaporator coils to move heat; furnaces burn fuel or use electric elements to generate heat moved by the blower. You can test performance by measuring supply vs. return air (a 15–20°F delta indicates proper cooling), listening for unusual compressor or motor noises, and verifying thermostat setpoints and wiring if cycles seem off.
Importance of Regular Maintenance
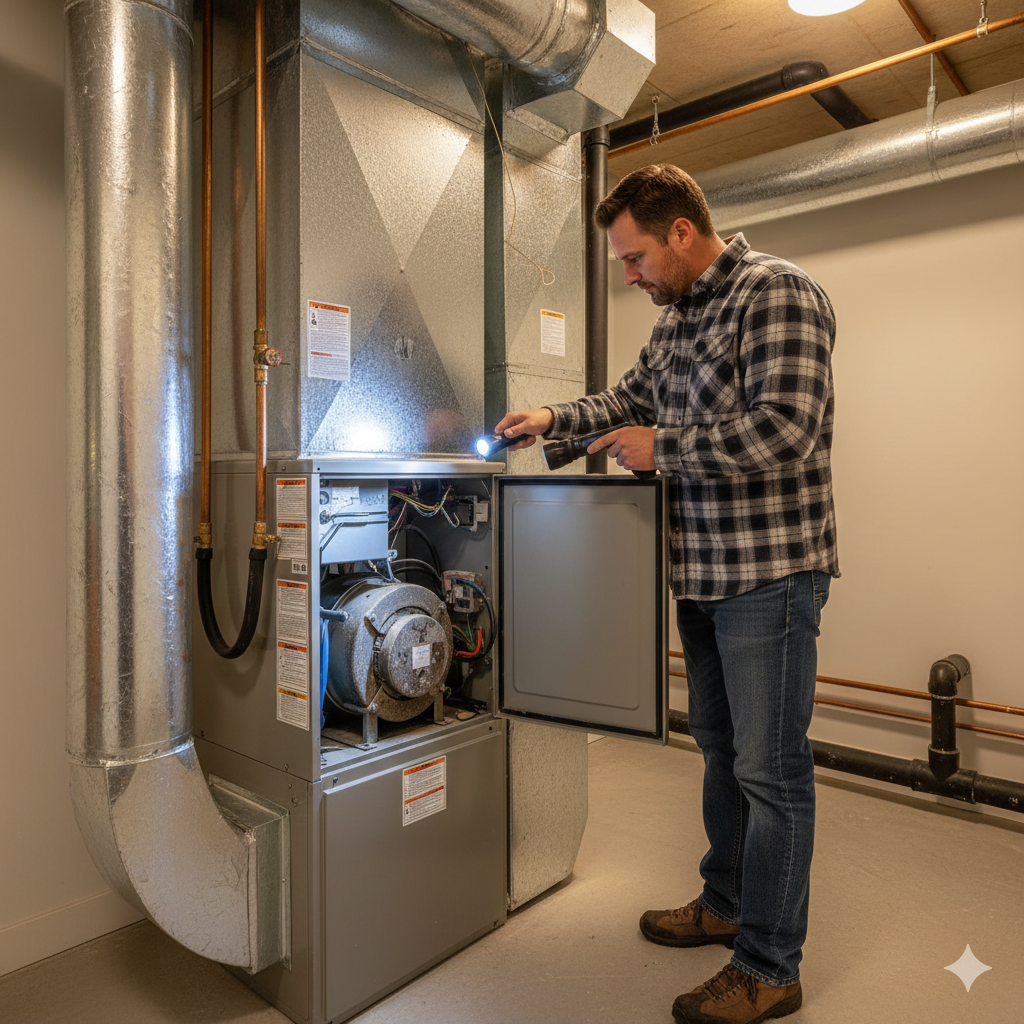
Annual professional tune-ups plus routine tasks you can do—replace filters every 1–3 months, clear debris from the outdoor unit, and check thermostat batteries—keep systems running efficiently; maintenance can improve efficiency by roughly 5–15% and often extends equipment life by 2–5 years. Seasonal inspections catch low refrigerant, dirty coils, or failing motors before they become costly breakdowns during freezing nights.
Practical examples help: a clogged filter can raise energy use by about 10–15% and reduce airflow enough to strain the blower, while dirty evaporator coils can increase run time by 20–30%. Check the condensate drain for blockages to prevent water damage, maintain at least 2 feet of clearance around the outdoor unit, and schedule a professional inspection before November so technicians can test heat exchanger integrity and perform a combustion/CO check on gas furnaces.
How to Identify Common HVAC Issues
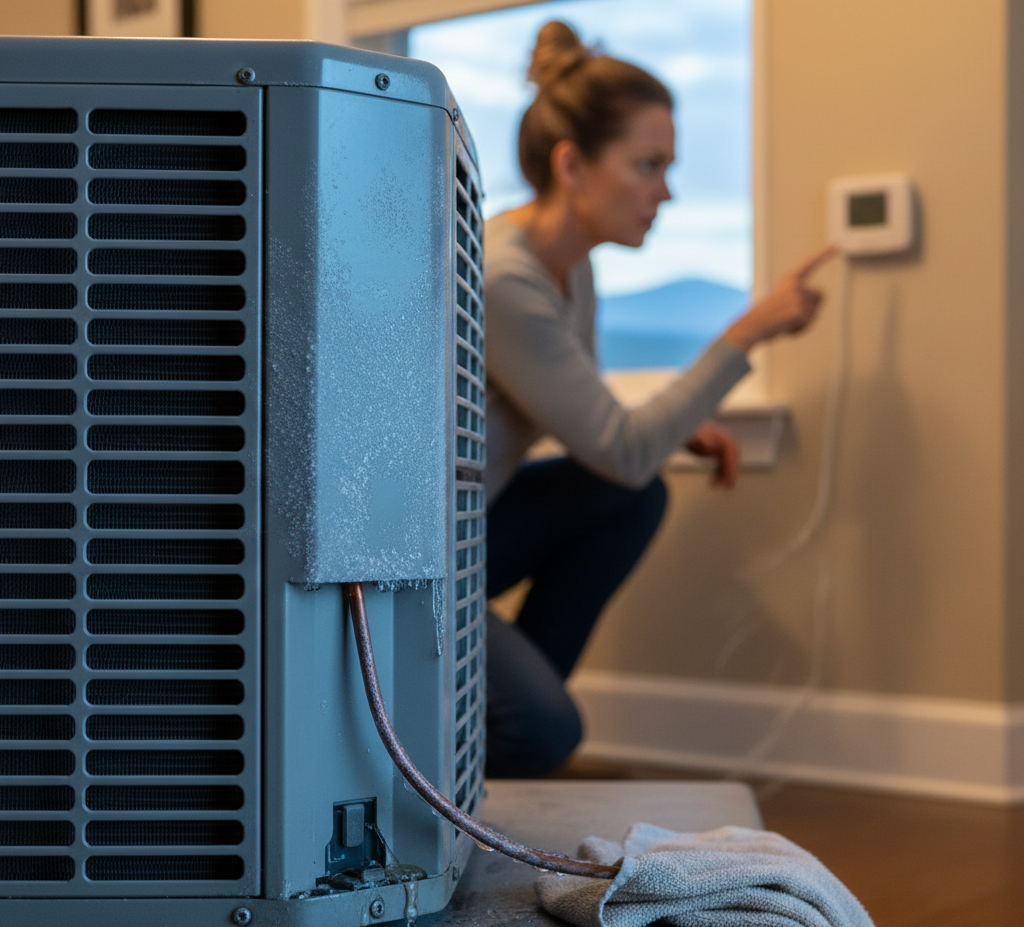
Scan for steady signs: visible ice on lines, reduced airflow, or a 3–5°F variance room-to-room can signal issues. Check your energy bills—an unexplained 10–20% increase often accompanies failing components. Test the thermostat with a separate thermometer, listen for abnormal sounds, and note odors or short cycling. Log temperature readings and system behavior over 48–72 hours to provide clear data before you call for service.
Unusual Noises and Odors
You'll hear distinct cues: a high-pitched squeal often means a slipping belt or failing blower motor, while banging or clanking points to loose components or a failing compressor. A musty smell suggests mold in ducts or drain pans, and a burning electrical odor requires immediate power-off and expert attention. Any sulfur or rotten-egg scent signals a gas leak—leave the house and call your utility.
Common Noises and Odors
| Squealing |
Belt or motor bearing wear — check belts, tighten, schedule motor inspection |
| Banging/Clanking |
Loose panels or fan blades — inspect access panels; avoid running until secured |
| Hissing |
Possible refrigerant leak — monitor cooling, contact HVAC tech for leak test |
| Musty Odor |
Mold/mildew in ducts or drain pan — clean drain and consider duct cleaning |
| Burning or Electrical Smell |
Overheated wiring or component failure — shut off power and call a technician |
| Rotten-Egg Smell |
Gas leak — evacuate immediately and contact gas utility/emergency services |
Inconsistent Temperature Control
You may notice rooms that run 4–8°F apart or frequent short cycling that prevents reaching set temperature. Thermostat miscalibration, dirty filters, blocked vents, or leaking ducts commonly cause imbalance. Run the system in fan-on mode to test airflow, swap thermostat batteries, and check filter condition; persistent imbalance after these checks usually indicates refrigerant, compressor, or ductwork issues requiring a pro.
Causes and Quick Checks
| Thermostat Miscalibration |
Compare with a room thermometer, replace batteries, recalibrate or replace unit |
| Dirty Air Filter |
Replace filter every 1–3 months; note improved airflow within one cycle |
| Blocked/Closed Vents |
Open/adjust registers, ensure furniture or curtains aren't obstructing flow |
| Duct Leaks or Poor Insulation |
Inspect visible ducts for gaps; seal accessible joints with foil tape or call pros |
| Low Refrigerant or Compressor Fault |
Check cooling performance and listen for short cycling; schedule technician |
Take a systematic approach: place thermometers in problem rooms for 24–48 hours, note time-of-day patterns, and run the fan to assess airflow balance. If one room is consistently 6°F hotter despite open vents and a new filter, document your findings and share them with the technician to speed diagnosis and repair.
Tips for Homeowners
Rotate simple seasonal tasks: swap or inspect your air filter monthly (replace every 90 days or every 30 days with pets), test thermostat batteries every 6 months, and keep at least 2 feet of clearance around the outdoor unit to prevent airflow loss.
- Change filter every 30–90 days
- Test thermostat batteries twice yearly
- Clear vents and outdoor debris; maintain 2 ft clearance
- Flush condensate line monthly
Knowing these routine steps reduces mid-winter failures and lowers repair costs.
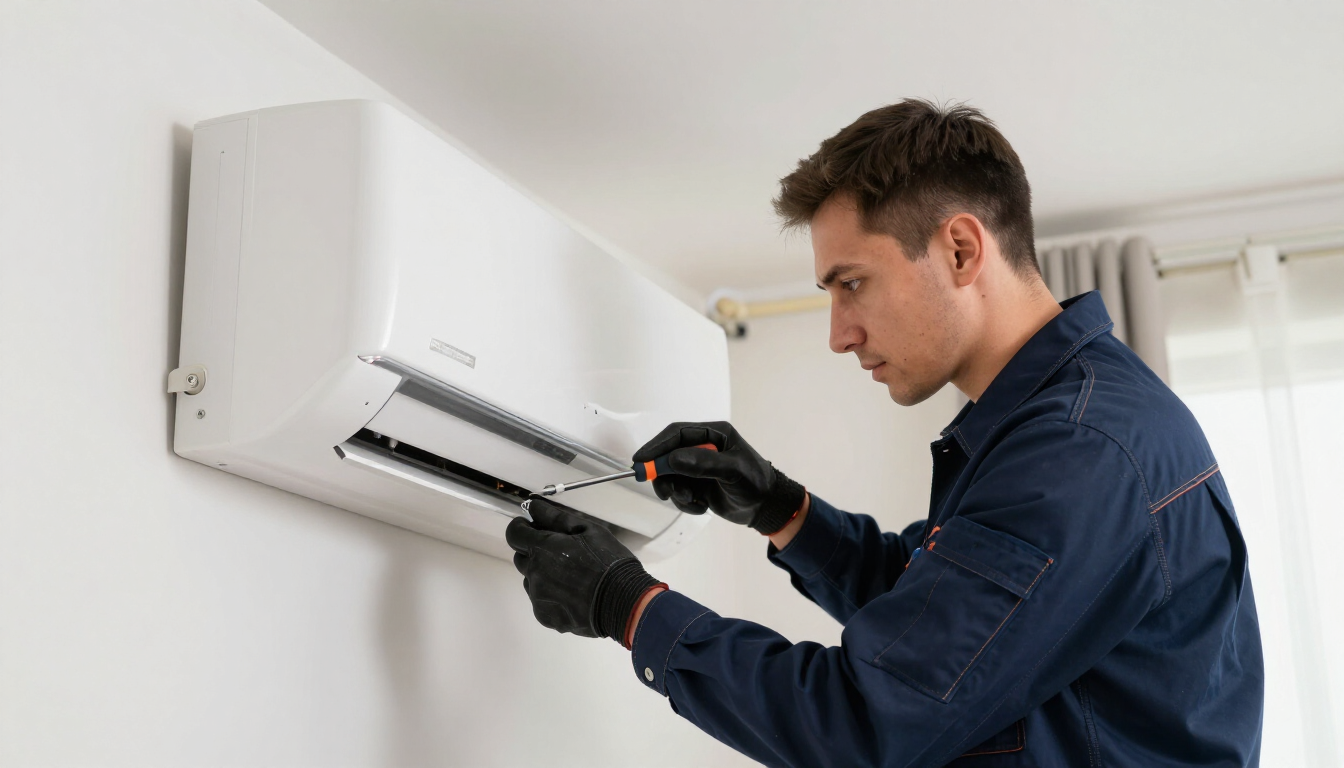
When to Call for Professional Help
If you detect a rotten-egg or gas smell, evacuate and contact the gas company or HVAC pro immediately; do not run the system. Schedule service for frequent short-cycling (more than five cycles per hour), visible ice on coils, a sustained drop in airflow (about 20% or more), grinding or banging noises, or if the unit is older than 15 years. Also call if a carbon monoxide alarm activates or you suspect a refrigerant leak (hissing, oily residue).
DIY Troubleshooting Techniques
Start with quick checks: confirm your thermostat is set correctly and raise the setpoint 2°F to test response, replace a dirty filter, test or swap thermostat batteries, reset the HVAC breaker (off/on), and clear leaves or snow from the outdoor unit; listen for abnormal sounds for 1–2 minutes. These steps resolve many common issues before you need a technician.
For targeted fixes, turn the thermostat off and flip the corresponding breaker off for 30 seconds before handling components, use a wet/dry vacuum at the condensate drain to remove clogs, and pour one cup of white vinegar followed by water to help prevent recurrence; when checking the outdoor unit remove debris by hand and avoid bending fins. If you see ice, oil residue, or persistent electrical tripping, stop and call a pro.
Factors Influencing HVAC Performance
Your HVAC performance hinges on measurable factors: system age, refrigerant charge, airflow, duct integrity, thermostat accuracy, insulation and usage patterns. Clogged filters and dirty coils can reduce efficiency by up to 15% and cause short cycling; thermostat calibration off by 2°F may add hours of runtime daily. A leaking duct can waste 20–30% of conditioned air in older homes. After prioritizing the items below you can decide whether DIY fixes or a pro visit is next.
- System age and expected lifespan (AC: 12–15 yrs, furnace: 15–20 yrs)
- Maintenance frequency and recent service history
- Refrigerant level and leaks (R-22 phased out, R-410A common)
- Airflow: filters, coils, blower motor
- Ductwork leaks and home insulation
- Thermostat accuracy and zoning controls
- Occupant behavior and seasonal load
Age of the System
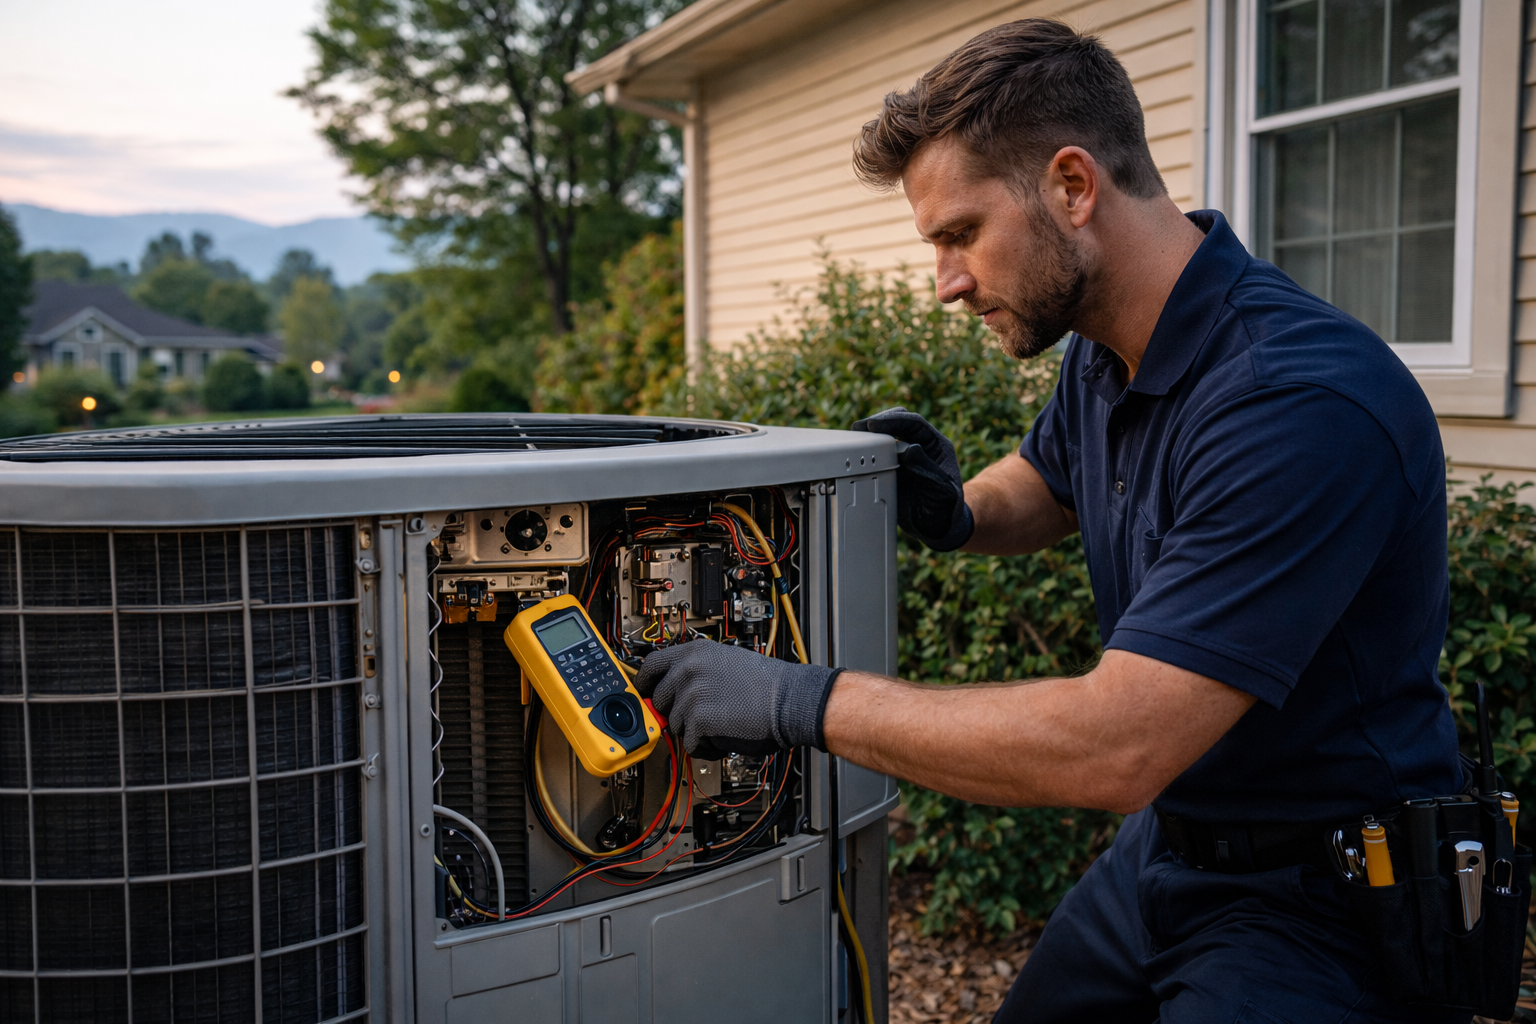
Systems over 10 years typically show rising repair frequency and lower efficiency; central AC commonly lasts 12–15 years, furnaces 15–20, and heat pumps 10–15. You can read the manufacture date from the serial number to gauge remaining life. Expect older units to consume 20–40% more energy than new high-efficiency models, and look for signs like frequent short cycling, loud compressor starts, or oil/acid smells that signal replacement is more cost-effective than repeated fixes.
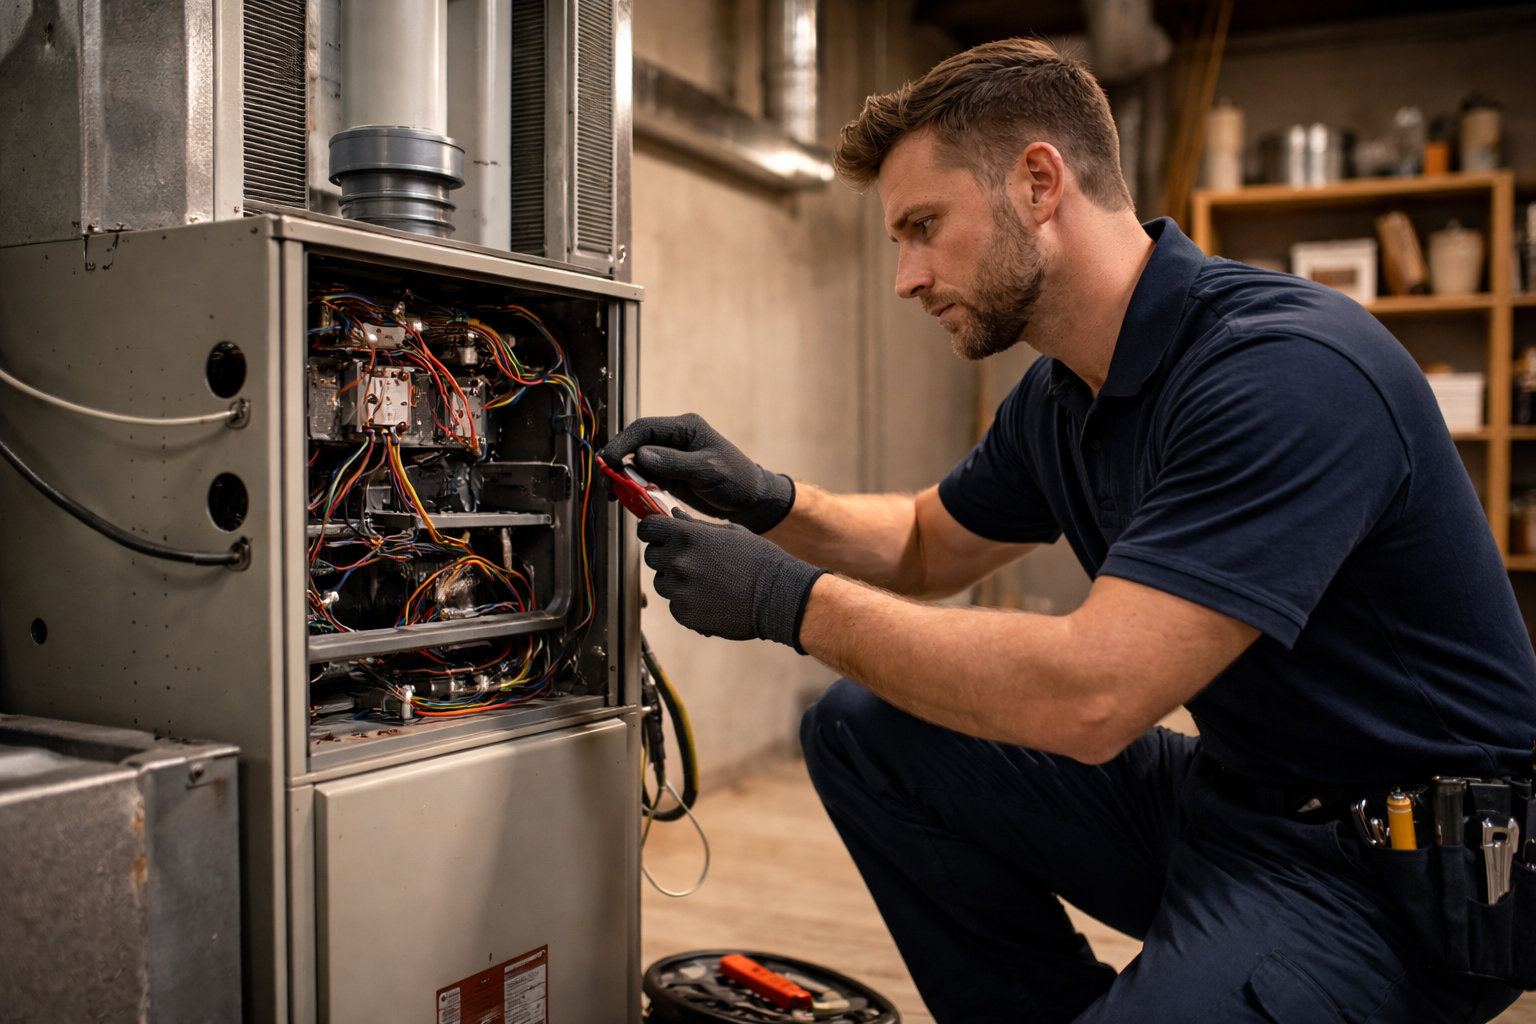
Frequency of Maintenance
Manufacturers recommend at least one annual tune-up, while many pros advise two visits—spring for cooling and fall for heating. Your routine checks should include filter changes, coil cleaning, refrigerant level verification and electrical tightening. Skipping scheduled maintenance increases the chance of a midseason failure and higher utility bills; keep a simple service log so you can spot worsening trends and justify a service call before winter.
Change filters every 1–3 months; homes with pets or high dust need monthly swaps. Professional maintenance tasks include cleaning evaporator and condenser coils, checking refrigerant charge, testing safety controls, measuring airflow and inspecting duct leakage. Coil cleaning and a tuned blower can restore 5–10% efficiency, and catching a small refrigerant leak early can prevent compressor replacement (often $1,500–$3,500). You should keep receipts and notes to track recurring issues and plan repairs or replacement.
Preparing for Winter
Test your heating now by running it for 15–20 minutes, watch for odd noises, weak airflow, or uneven room temperatures; replace disposable filters every 1–3 months and swap batteries in programmable thermostats. Inspect visible ductwork for disconnected joints or heavy dust streaks, clear at least 2–3 feet of debris around outdoor units, and verify carbon monoxide and smoke detectors within 10 feet of sleeping areas. Schedule a professional tune-up if you notice reduced performance or rising energy bills.
Seasonal Checklist for HVAC Systems
Change or clean filters, check thermostat settings and batteries, vacuum registers and return grilles, and inspect the condensate drain for clogs. Confirm outdoor unit has 2–3 feet of clearance, tighten electrical connections if accessible, and lubricate blower motors per your manual. Run the system through a full heating cycle and log unusual sounds or cycling; if air delivery is weak or temperatures vary by more than 3–4°F between rooms, line up a service call.
Energy Efficiency Considerations
Seal visible duct leaks with mastic or UL-rated foil tape—leaky ducts can waste up to 20% of conditioned air—and add insulation to attic and rim joists to lower heat loss. Program your thermostat to lower 7–10°F for 8 hours daily to save roughly 10% annually on heating. Balance short-term fixes like filter changes with long-term upgrades such as higher-efficiency furnaces (95% AFUE) or ENERGY STAR heat pumps when the equipment is over 15 years old.
Compare upgrade paybacks: swapping an 80% AFUE furnace for a 95% AFUE model can cut fuel use about 10–20% depending on your heating load; professional tune-ups typically restore 5–15% efficiency by adjusting burners and cleaning coils. Consider a home energy audit to quantify duct losses and insulation gaps—air sealing plus targeted insulation often yields the fastest ROI before investing in new equipment.
Budgeting for Repairs
Set aside $500–$1,500 as a winter-ready repair fund and expect a service call fee of $75–$150 in Staunton. Minor fixes like thermostats or capacitors typically run $150–$400, while compressor or heat-exchanger repairs can reach $1,000–$3,000. Factor in after-hours or weekend work, which can add 20–50% to labor, and get written estimates so your emergency fund covers both parts and service.
Average Repair Costs in Staunton, VA
Typical local figures: service calls $75–$150; thermostat or control-board repairs $100–$350; capacitor or relay replacements $150–$350; refrigerant recharge $200–$600; compressor replacement $1,200–$2,800; major furnace repairs $900–$2,500; full system replacement $5,000–$10,000. Labor in Staunton averages $70–$120/hour, so you should request itemized estimates and parts warranties before authorizing work.
Planning for Future Upgrades
Expect furnaces to last 15–20 years and central AC or heat pumps 12–15 years, so if your system is over a decade old you should weigh repair cost versus replacement. Upgrading from a 10 SEER to a 16 SEER unit can lower cooling expenses roughly 20–30%. Check local utility rebates and contractor financing that can reduce upfront costs and improve payback on higher-efficiency equipment.
Run a quick cost-benefit: if your annual cooling bill is $800, a 25% efficiency gain saves about $200/year, so a $3,000 incremental upgrade yields ~15-year simple payback plus reduced maintenance. Consider an energy audit ($100–$300) to find duct leaks or insulation fixes that often pay back faster than full equipment replacement. Request modeled savings, warranty terms, and maintenance plans to compare lifecycle costs across quotes.
Final Words
With this in mind, you should check filters, vents, thermostat settings, and listen for odd noises; shut off breakers if needed, note error codes and temperatures, and try simple fixes like replacing filters or clearing vents so you can provide clear details about your system and speed diagnosis when you call for professional HVAC service.